Confidential RFQ SupportDrawings and project files are treated as confidential. NDA available on request.

Category: Case Studies

  • ABS Automotive Front Grille Trim Injection Molding Case Study

    ABS Automotive Front Grille Trim Injection Molding Case Study

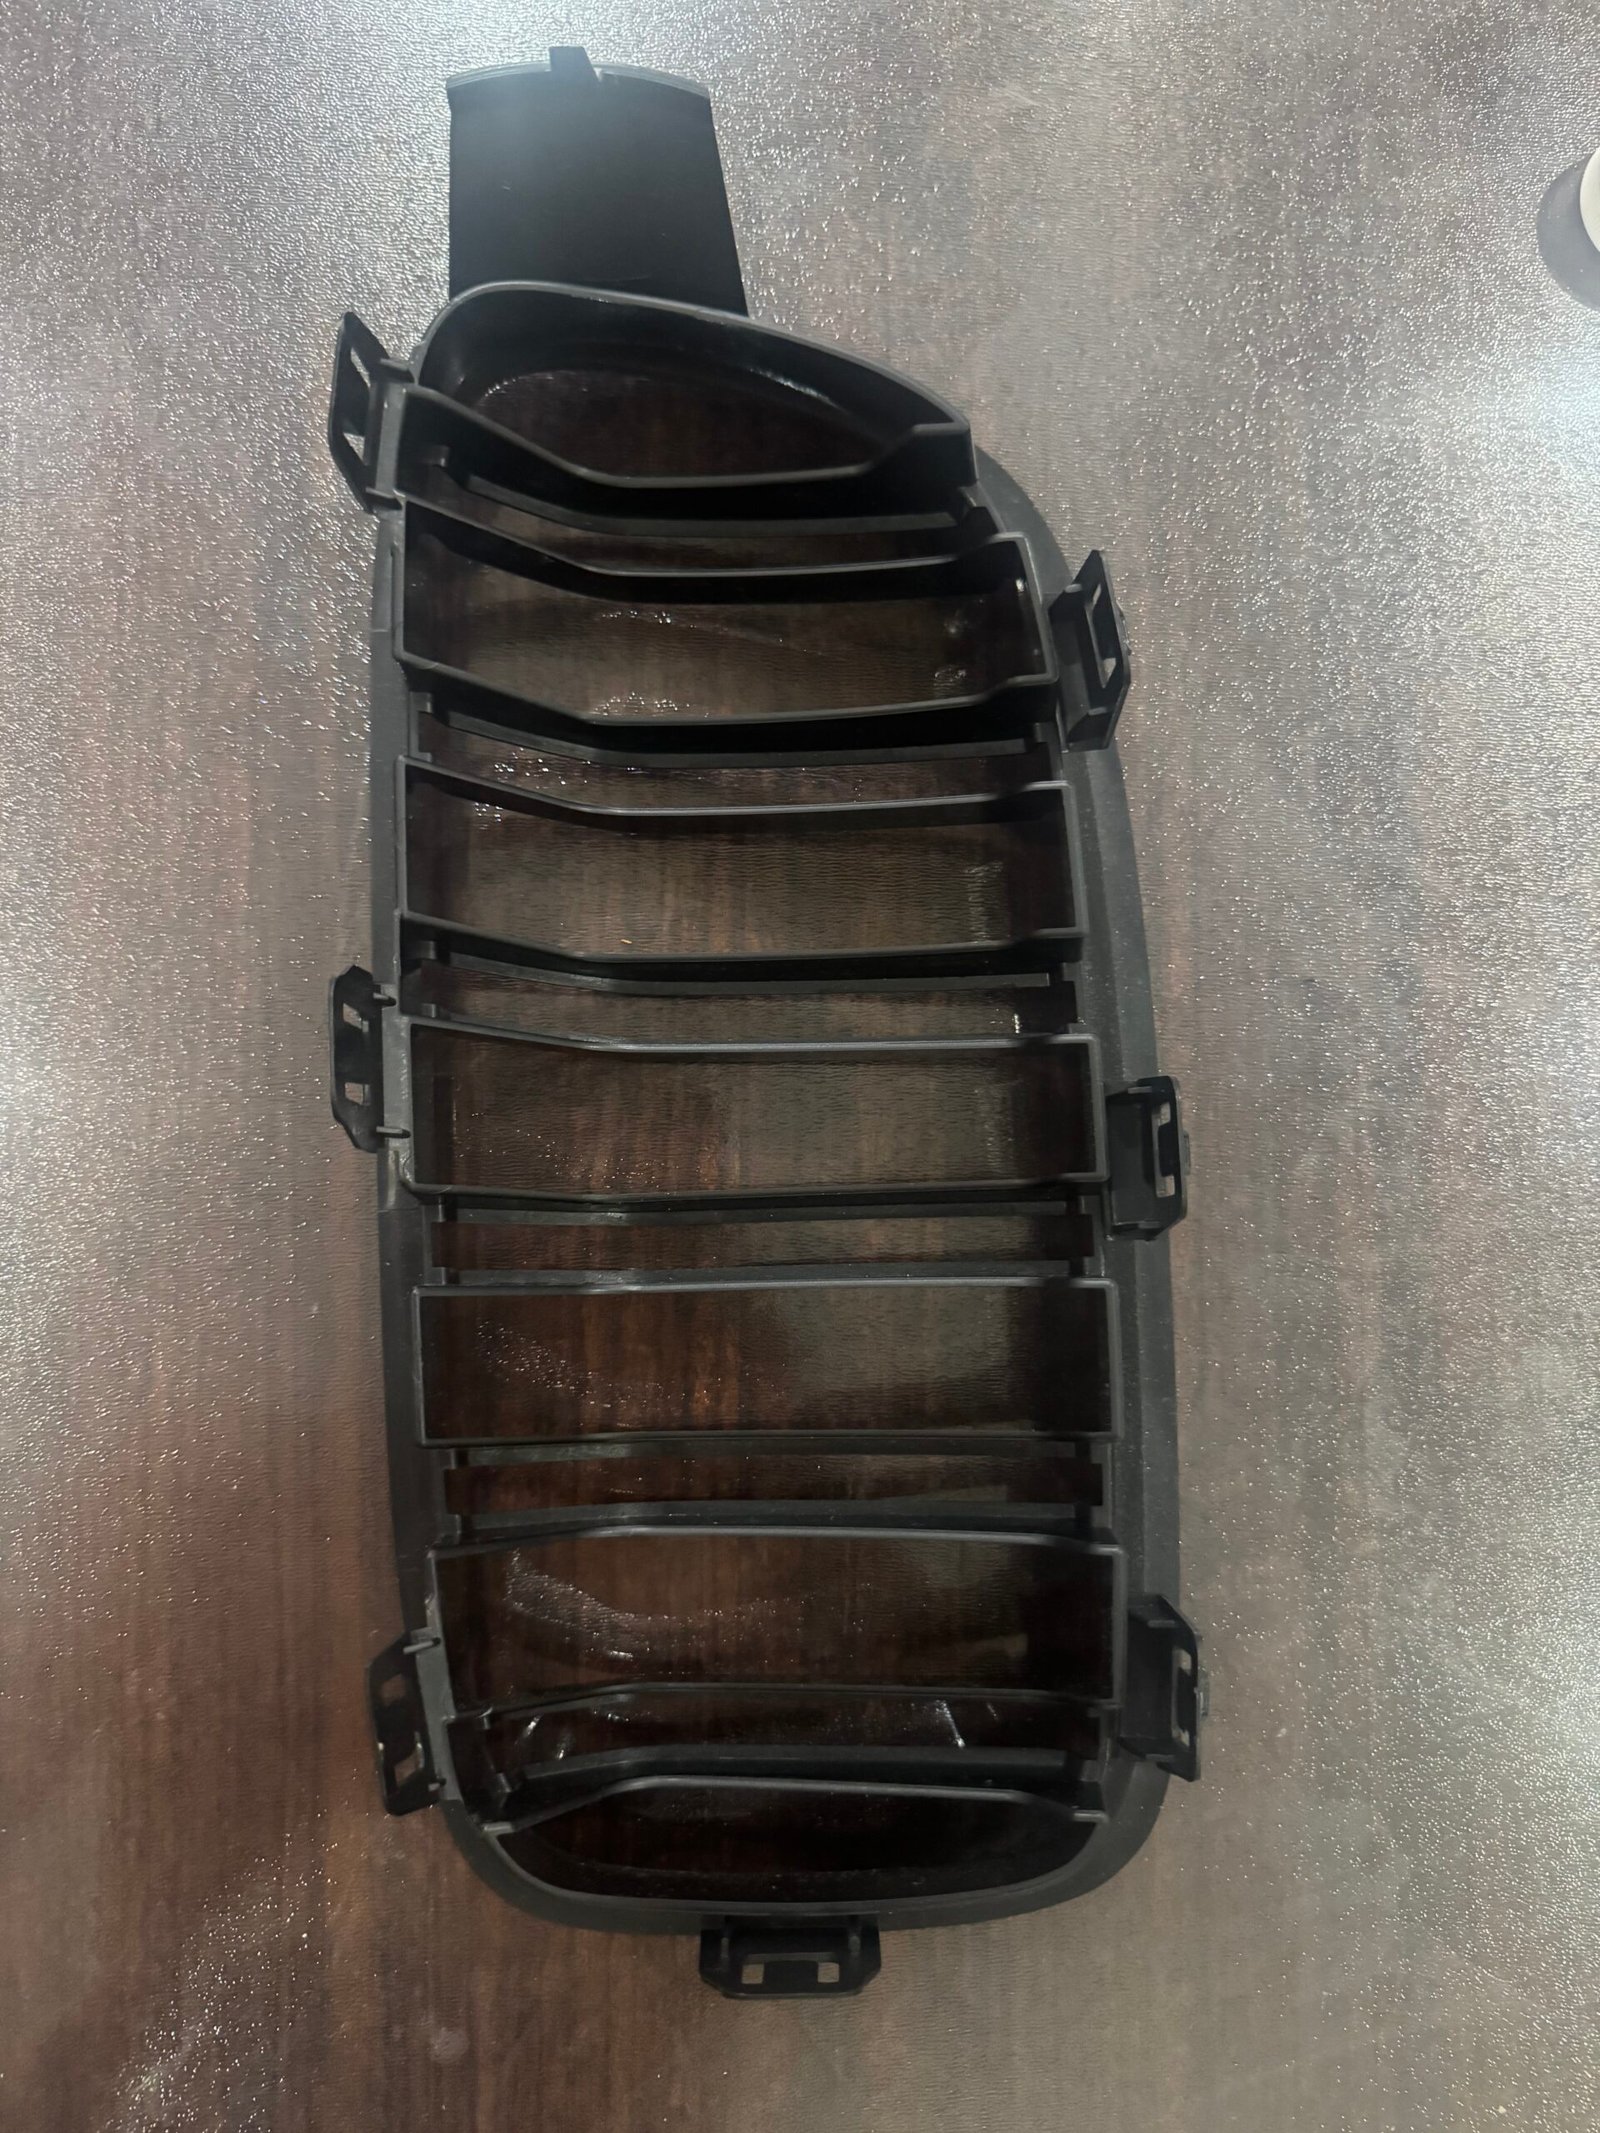
    This project involved an ABS front grille intake trim component for installation in the front bumper and front fascia area of a vehicle. The part is an exterior trim component, but it also includes multiple clips and locating features that affect how it sits in the final assembly.

    Project at a glance

    Application
    Front bumper / front fascia grille intake trim
    Material
    ABS
    Key features
    Clips, locating points, curved visible surfaces
    Project focus
    Fit, appearance, inspection and protective packing

    Why fit and appearance had to be considered together

    The part needed to follow the contour of the surrounding bumper and front-end area while its clips and locating features needed to engage correctly during installation. The visible edge gaps were part of the finished appearance, so a small change in a clip position or local dimension could affect both installation stability and visual alignment.

    The main control points included:

    • Matching the part profile to the surrounding bumper and front-fascia contours
    • Confirming clip positions, locating points and installation areas
    • Managing visible edge gaps after assembly
    • Reducing the risk of sink marks, flash, warpage and noticeable weld lines
    • Checking the exterior surface for scratches and color variation

    Engineering review and mold development

    Before tooling, the team reviewed the available vehicle data, reference sample and/or 3D file supplied for the part. The review focused on the curved surfaces, clips, locating pins and assembly interfaces.

    During mold design, gate location, venting and cooling were considered to support stable filling and to reduce the risk of sink marks, deformation and obvious weld lines. After trial molding, the part was checked against the intended installation area. Where the trial fit indicated a need for adjustment, local dimensions and mating areas were refined before the next evaluation.
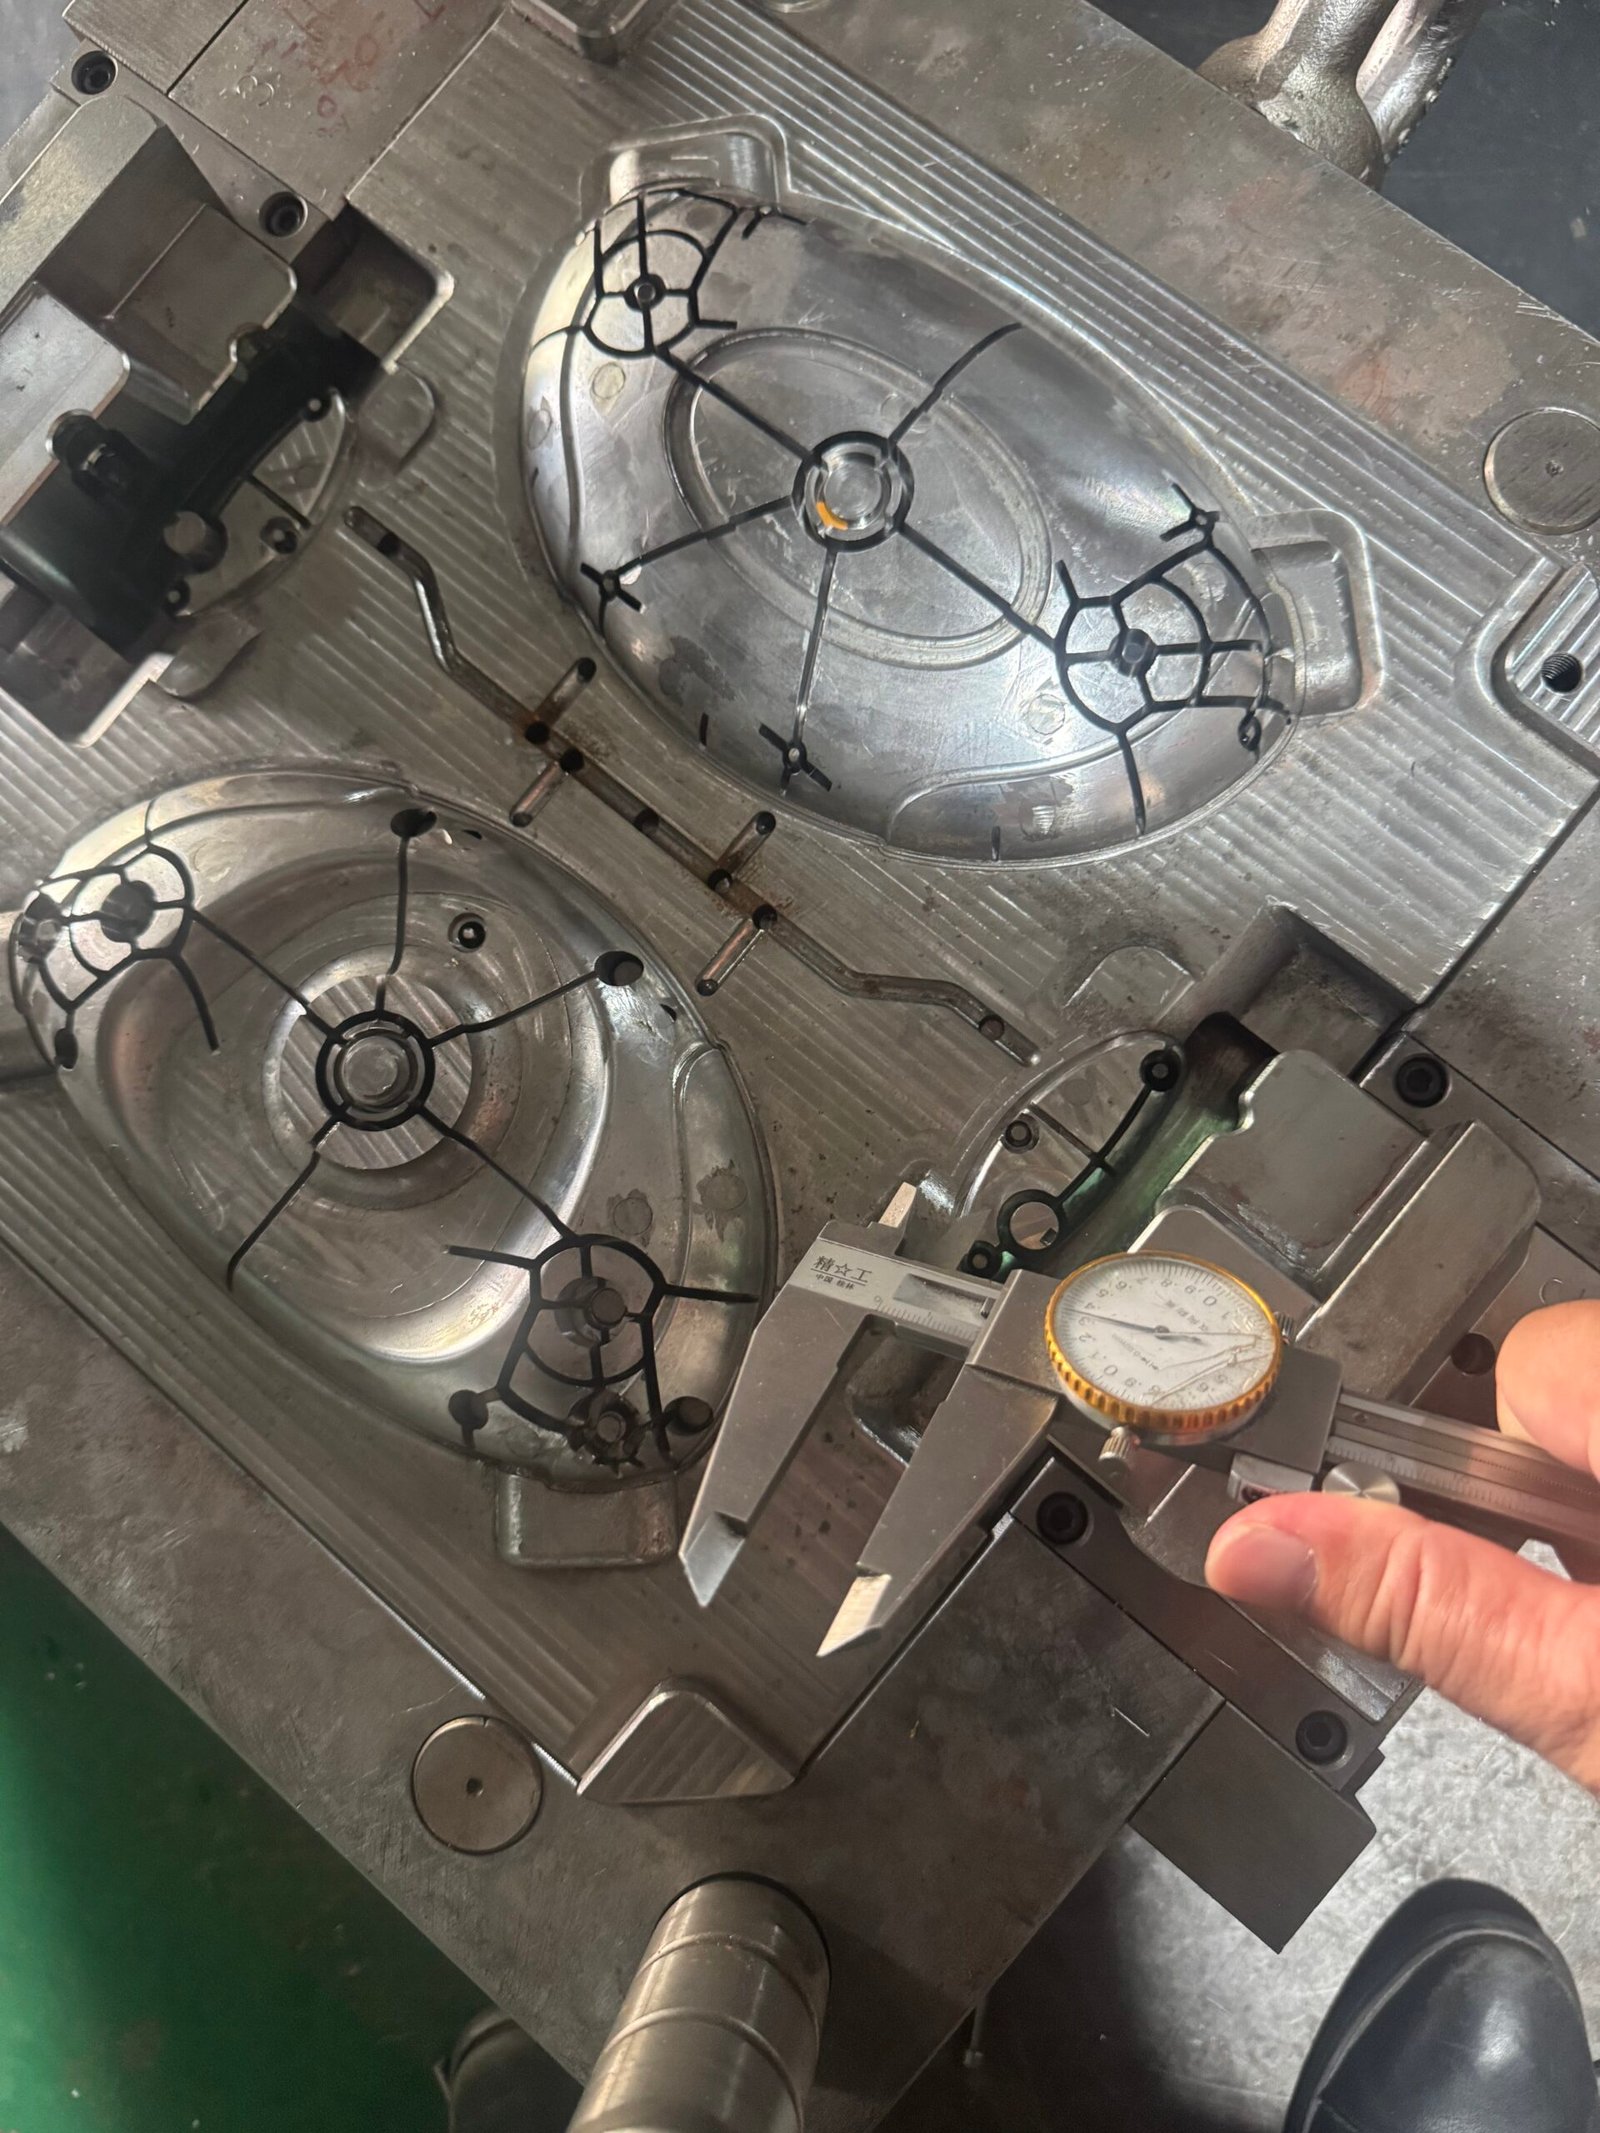
    Injection mold cavity for the ABS grille trim component during tooling review and dimensional checking.
    Tooling review and dimensional checking during mold development for the grille trim component.
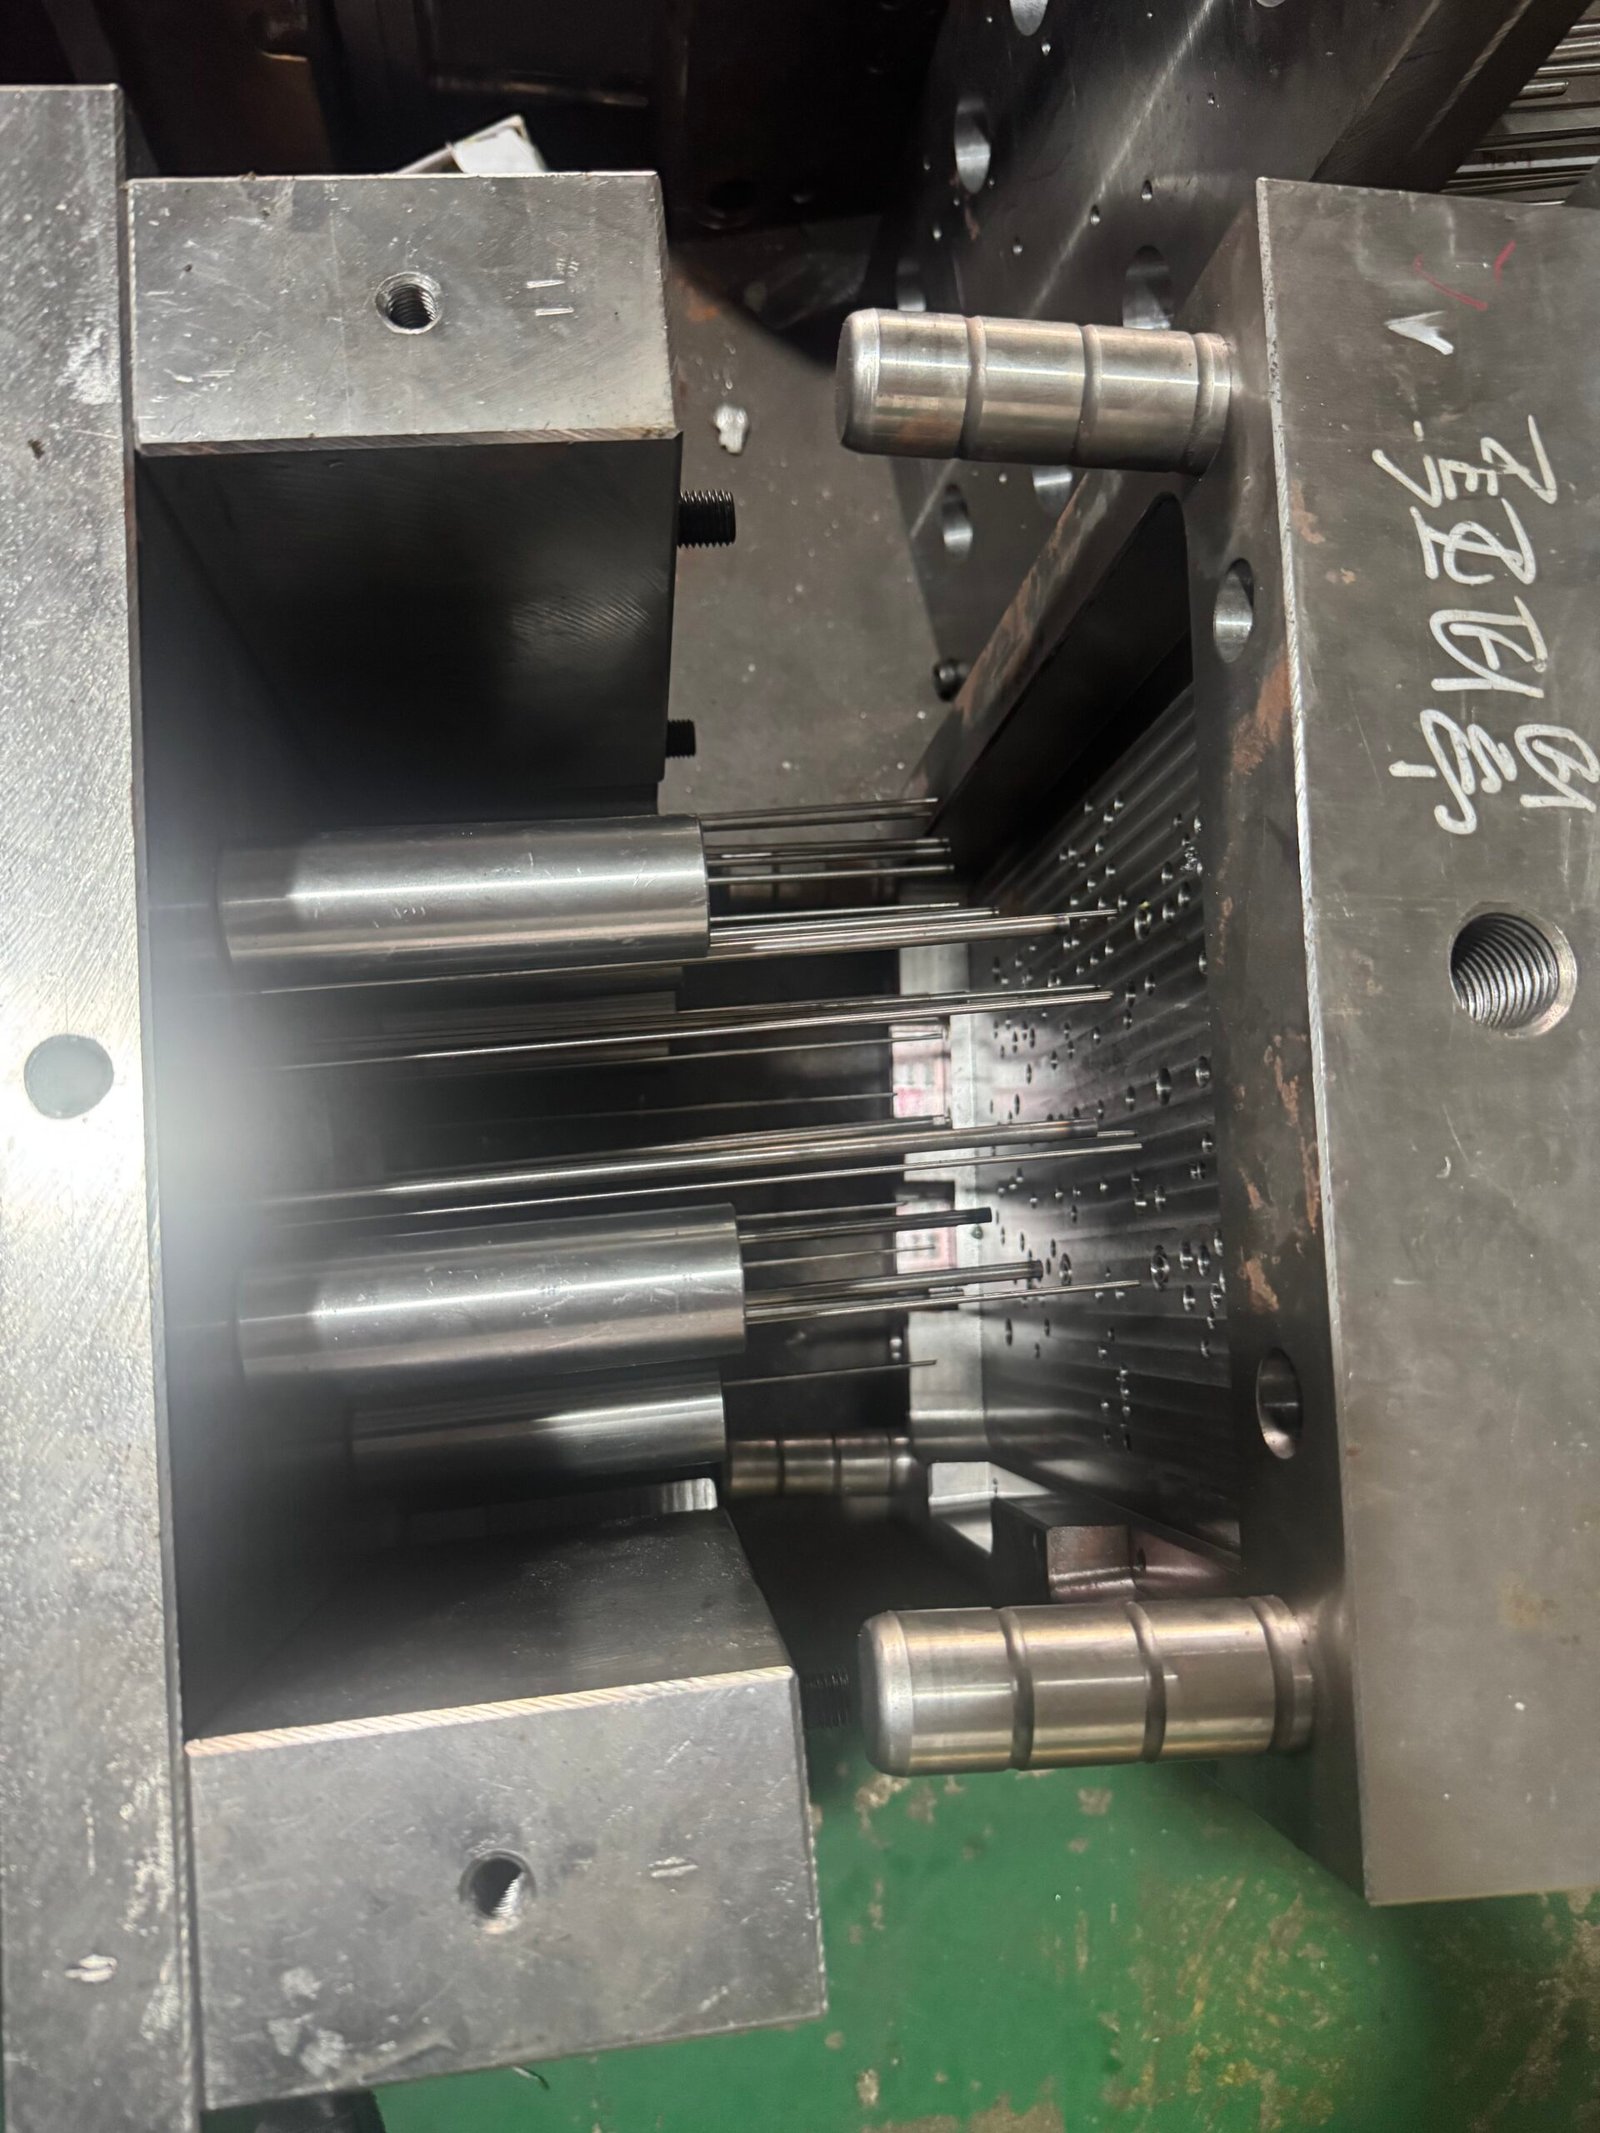
    Open injection mold showing core inserts and ejector pins for the ABS grille trim component.
    Core-side mold view showing internal feature and ejection layout.
    The practical objective: balance exterior appearance, clip function and bumper/fascia fit in the same production plan.

    Inspection and assembly verification

    Inspection covered both the molded part itself and its relationship to the assembly. The checks included exterior surface condition, dimensions and local fit points, clip strength and engagement, locating-feature position, as well as flash, scratches, color variation, sink marks and warpage.

    A vehicle-fit check was used to confirm the installation condition and visible alignment before release. This is more useful than a general “high quality” statement because it focuses on the points that determine whether an exterior trim part works and looks right after installation.

    Protective packing for exterior trim parts

    After inspection, the parts were protected with inner bags and EPE foam or partition protection, followed by carton packing. The purpose is to reduce the risk of scratches, rubbing or deformation during handling and transport.

    When required for a project, assembly-confirmation photos, videos or first-article confirmation records can also be provided before shipment.

    Tooling support at Yuming Molding

    Mold manufacture and maintenance are supported by Yuming Molding’s own tooling workshop. This workshop image is shown as factory capability evidence and is not presented as the specific production site for this grille trim project.
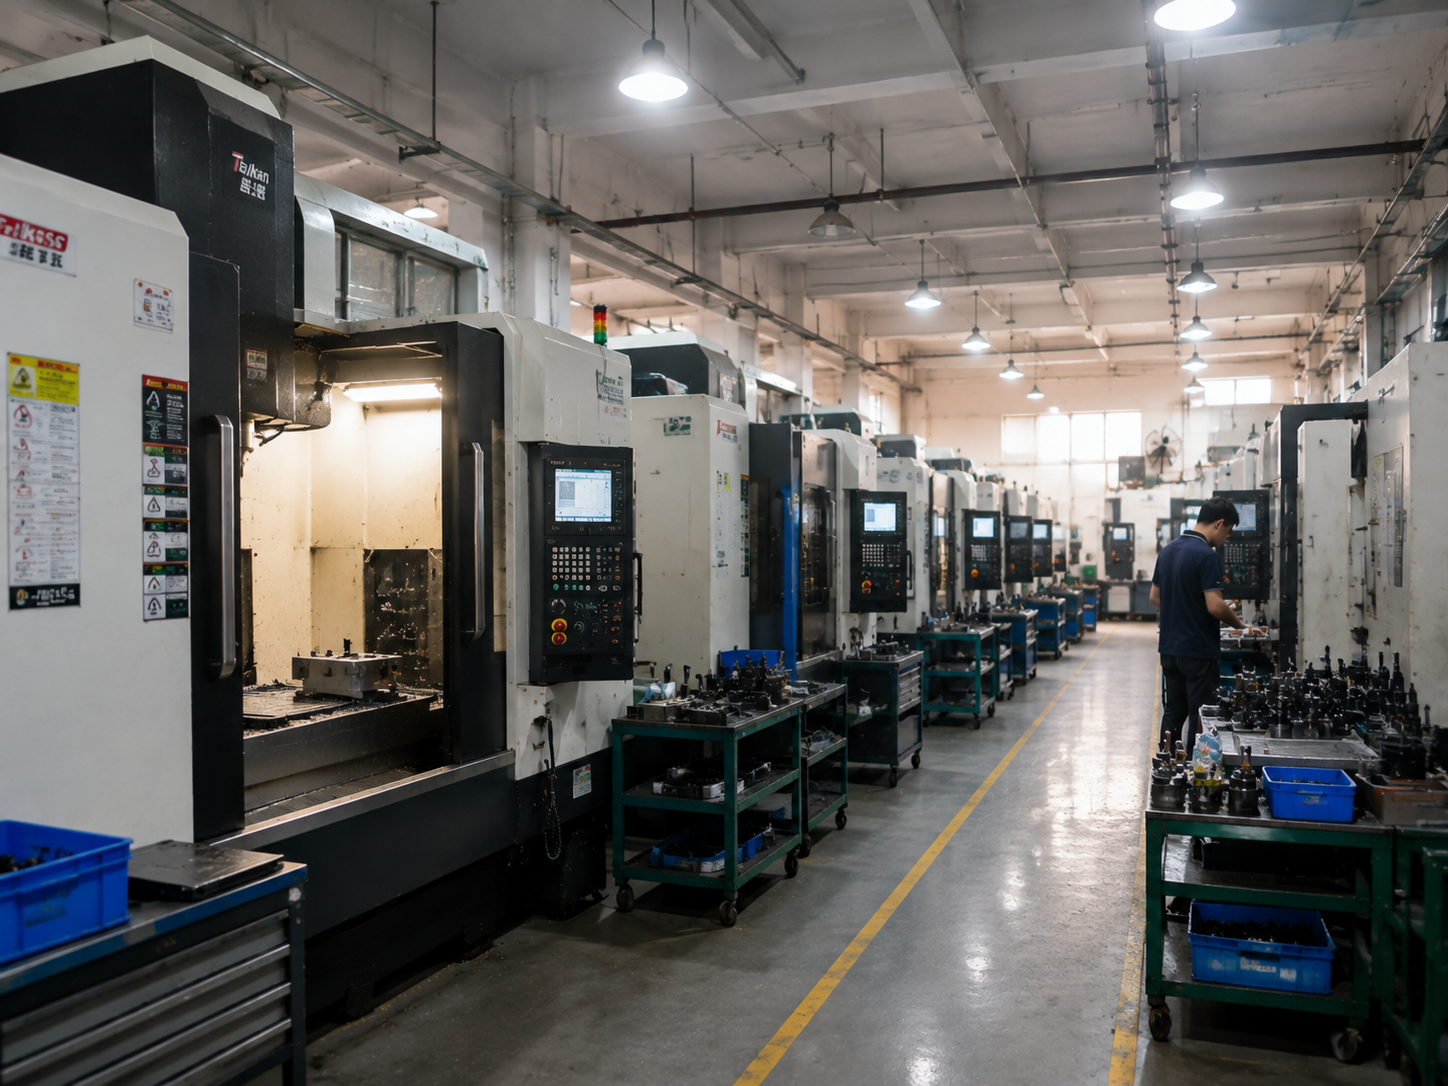
    CNC machining equipment in Yuming Molding's tooling workshop.
    Yuming Molding tooling workshop supporting mold manufacture and maintenance.

    Planning a similar trim component?

    Send the available drawing or 3D file, material requirement, estimated quantity and critical fit areas. We can review the part structure, tooling approach, visible-surface concerns and assembly features before production begins.

    Custom Injection Molding  |  Plastic Mold Development  |  Quality Control  |  Request a Quote
  • PC+ABS Injection Molded Enclosure Components: A Production Case Study

    PC+ABS Injection Molded Enclosure Components: A Production Case Study

    Case Study

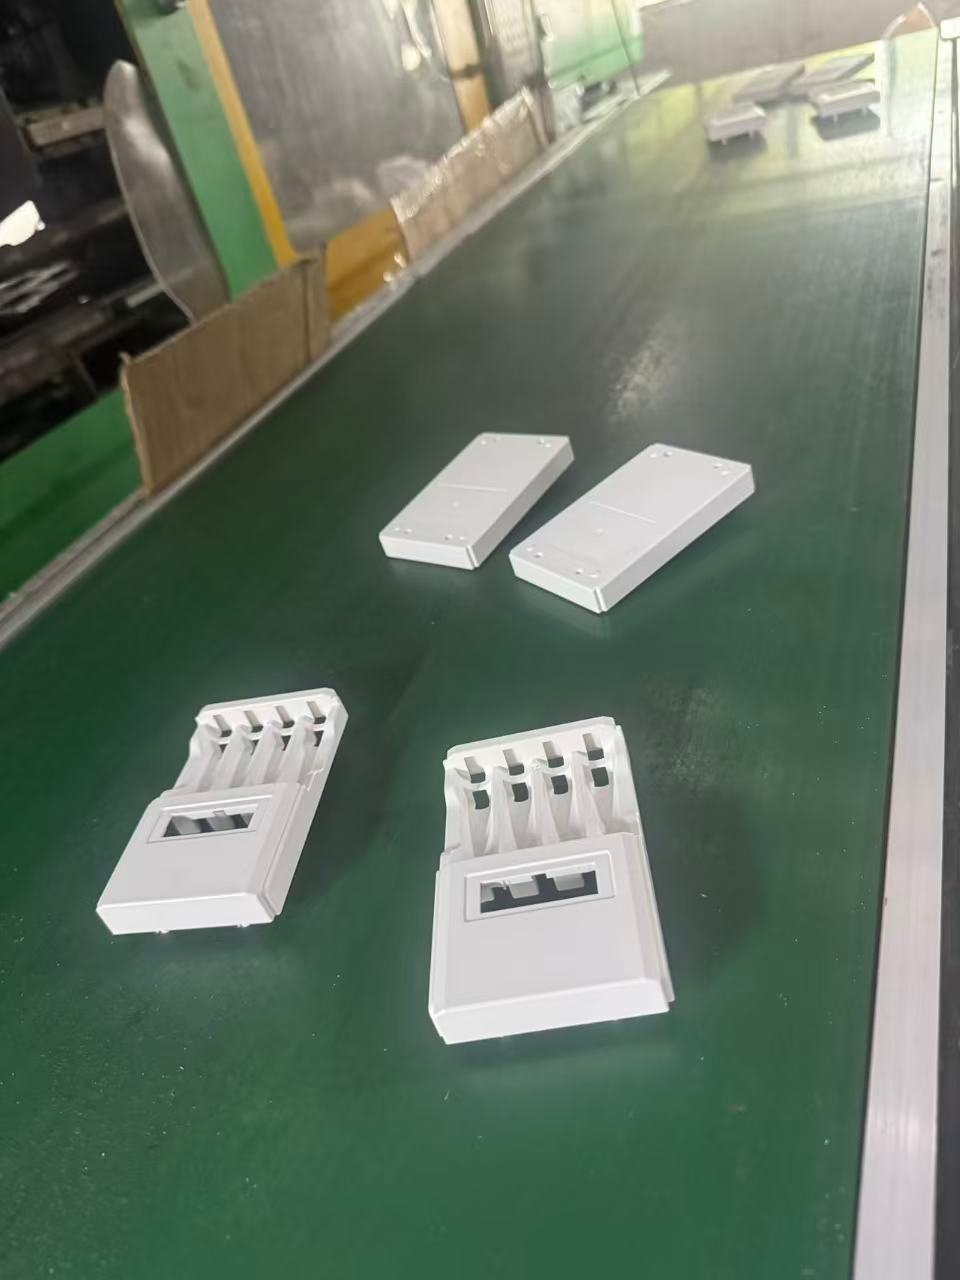
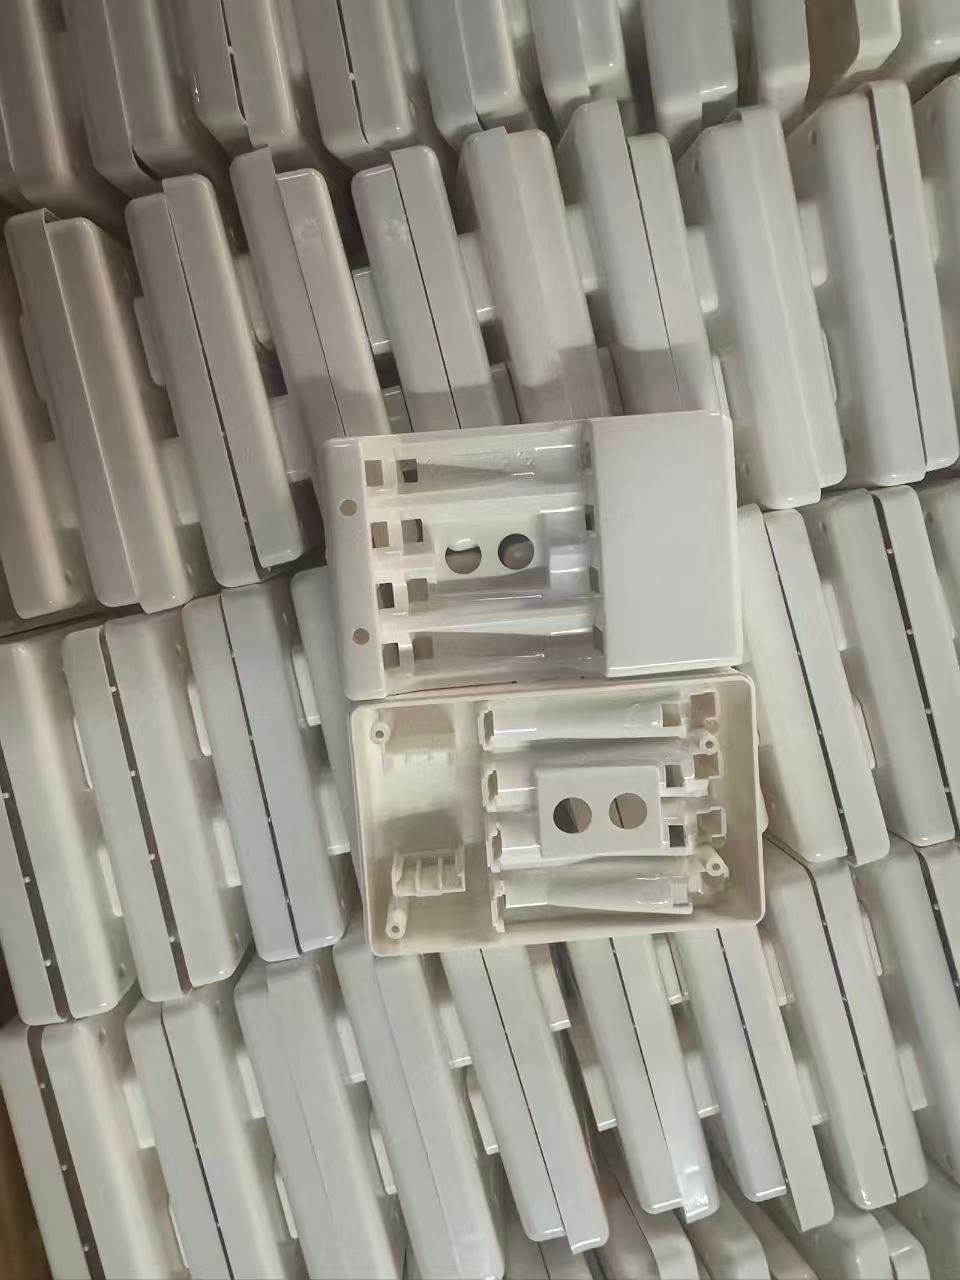
    These white enclosure components were produced in PC+ABS alloy material for a customer project. We do not name the final product because project drawings and product details are confidential. The photographs show the parts themselves, the injection molding process and the way finished pieces are handled in production.

    White PC+ABS injection molded enclosure components showing exterior and internal structure
    PC+ABS enclosure components with exterior panels and internal features.

    PC+ABS Enclosure Components

    The set includes matched housing pieces with visible outside faces, internal ribs, openings and mounting details. For this kind of part, the exterior needs a consistent finish while the interior features need to remain aligned for assembly.

    Why PC+ABS

    PC+ABS is often selected for equipment housings and electronic enclosures where a balanced combination of toughness, stiffness and surface appearance is needed. In this project, it was used for both the visible shell and the internal structure of the enclosure.

    White PC+ABS enclosure components moving along a production conveyor
    Molded enclosure pieces moving through the production line.

    From Mold to Production Handling

    Ribs, slots, openings and mounting features all have to release cleanly from the mold. We review the part geometry, material requirement and intended assembly method before tooling is finalized. After molding, parts are transferred and stored in an organized way to protect the visible surfaces and internal details during normal handling.

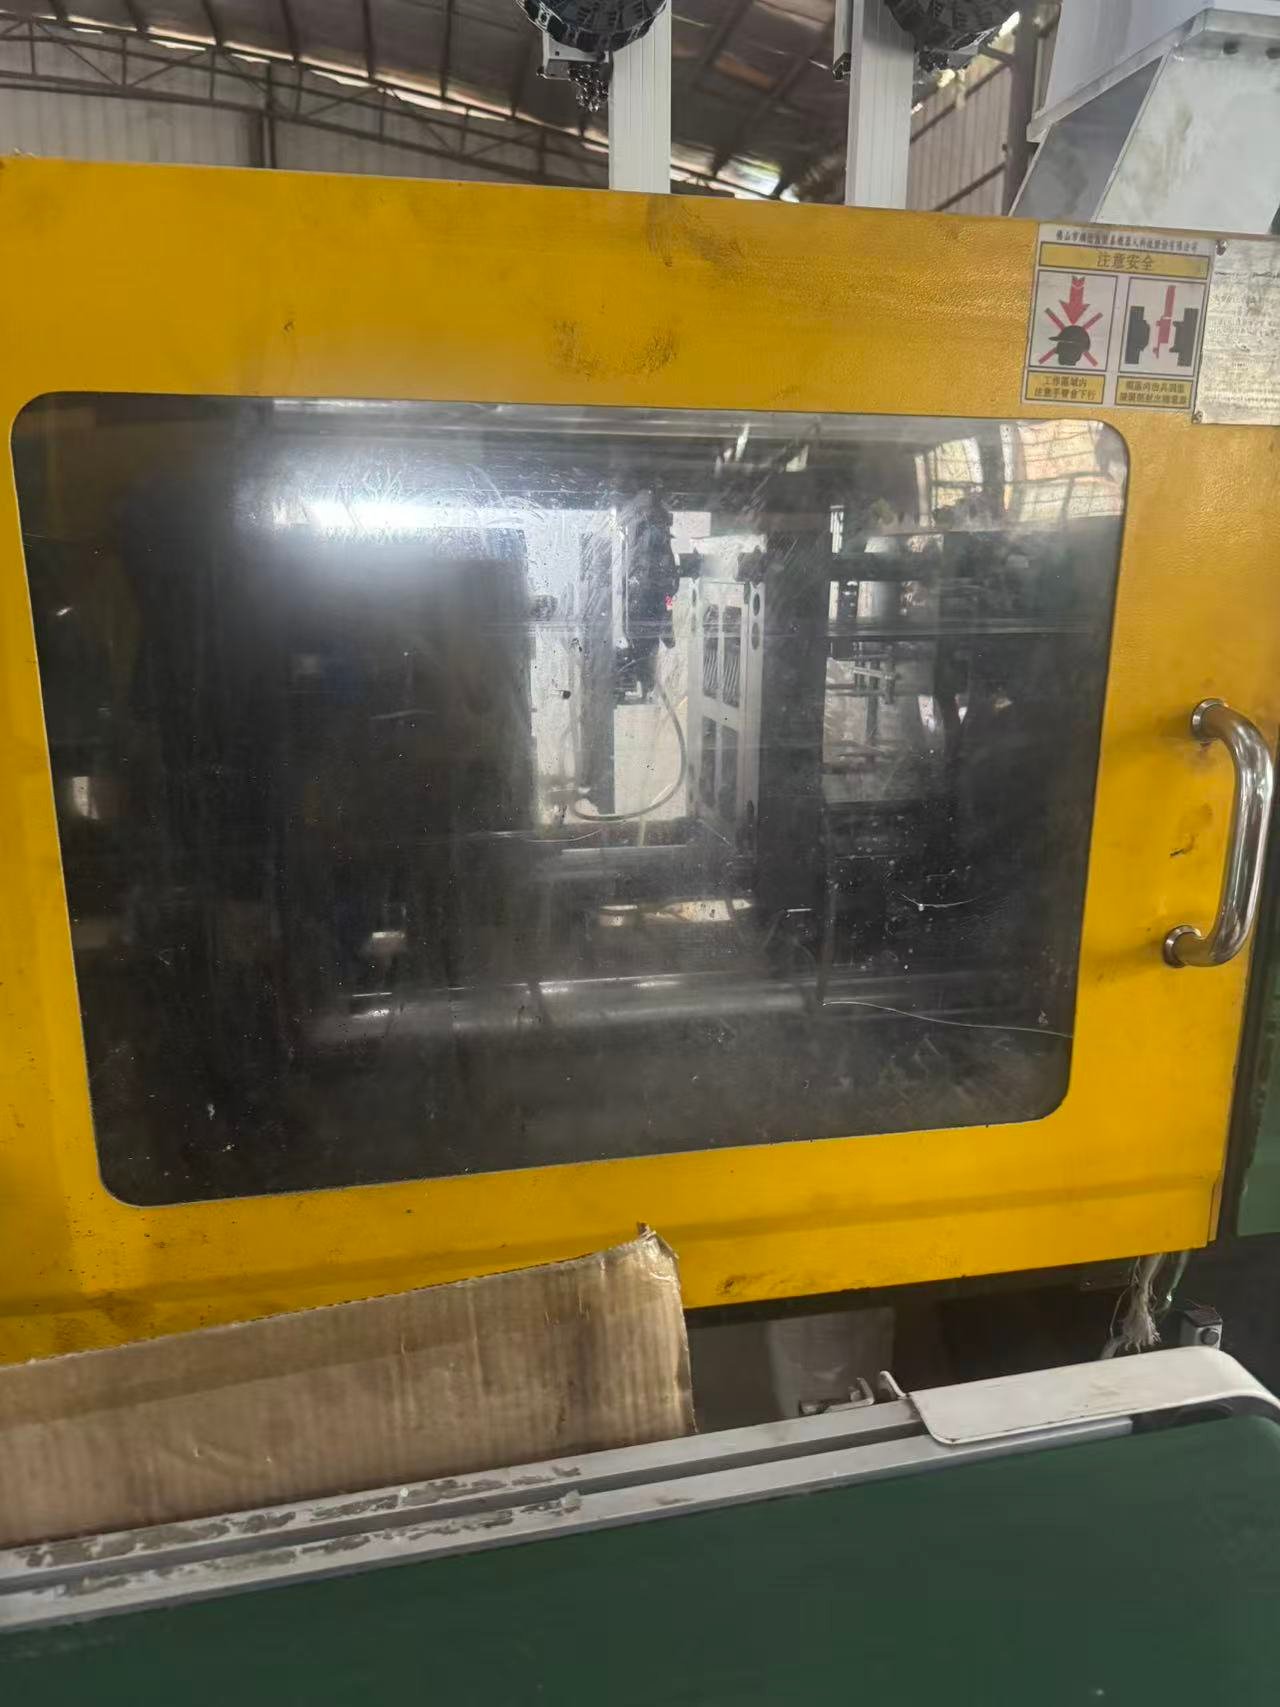
    Injection molding machine during PC+ABS enclosure production
    Injection molding equipment during production.
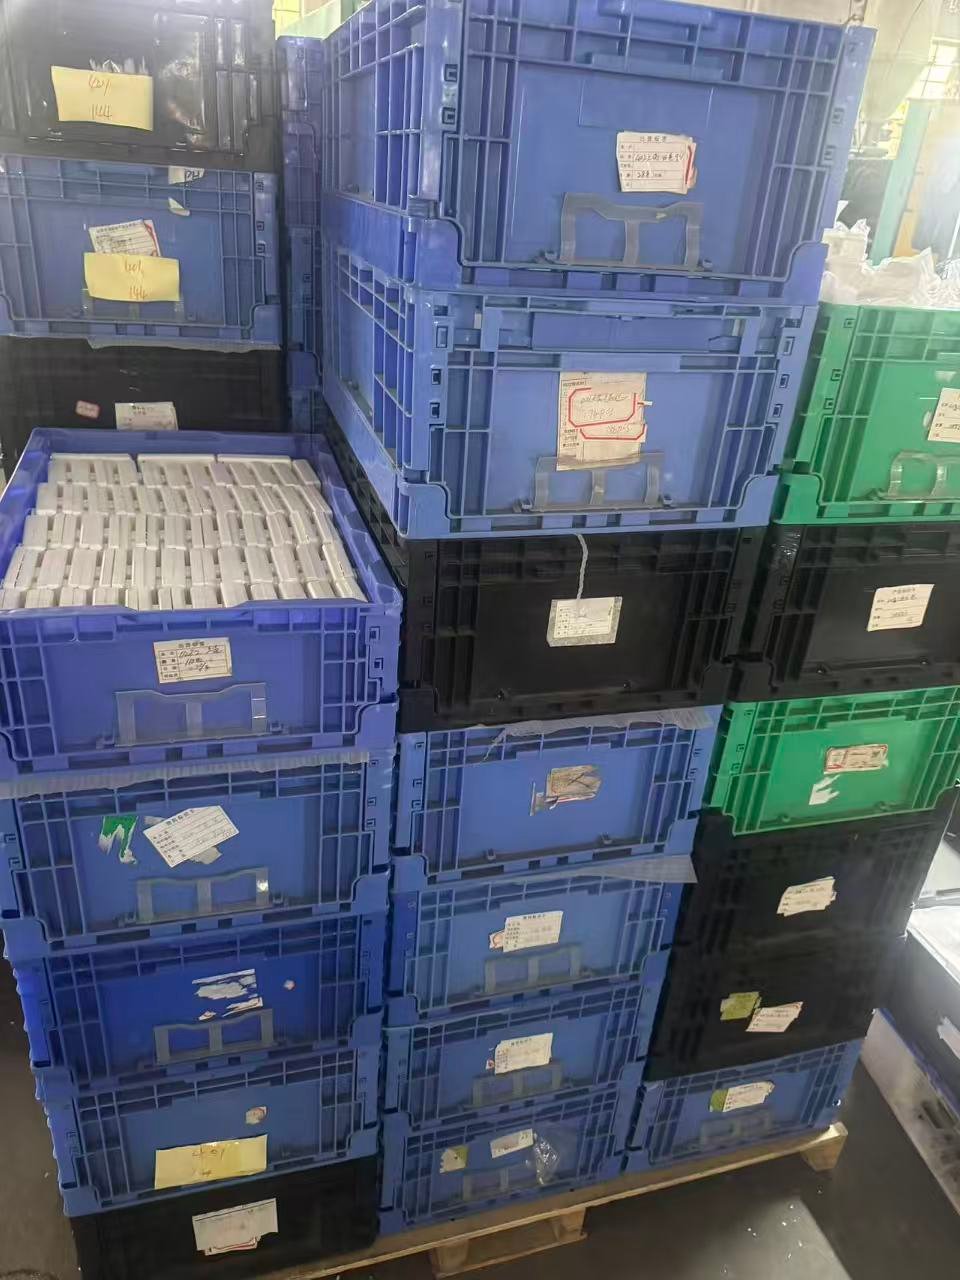
    Finished white PC+ABS enclosure components stored in production bins
    Finished PC+ABS parts prepared for production handling.

    Planning a PC+ABS Enclosure?

    Send us your 3D files, material requirement and target quantity. We can review the housing structure and production considerations before quoting. Your project files are handled confidentially, and an NDA is available on request.

    Explore our injection molding service or request a confidential quote.

  • Case Study: Injection Molded Components for an Adjustable Clamp Assembly

    Case Study: Injection Molded Components for an Adjustable Clamp Assembly

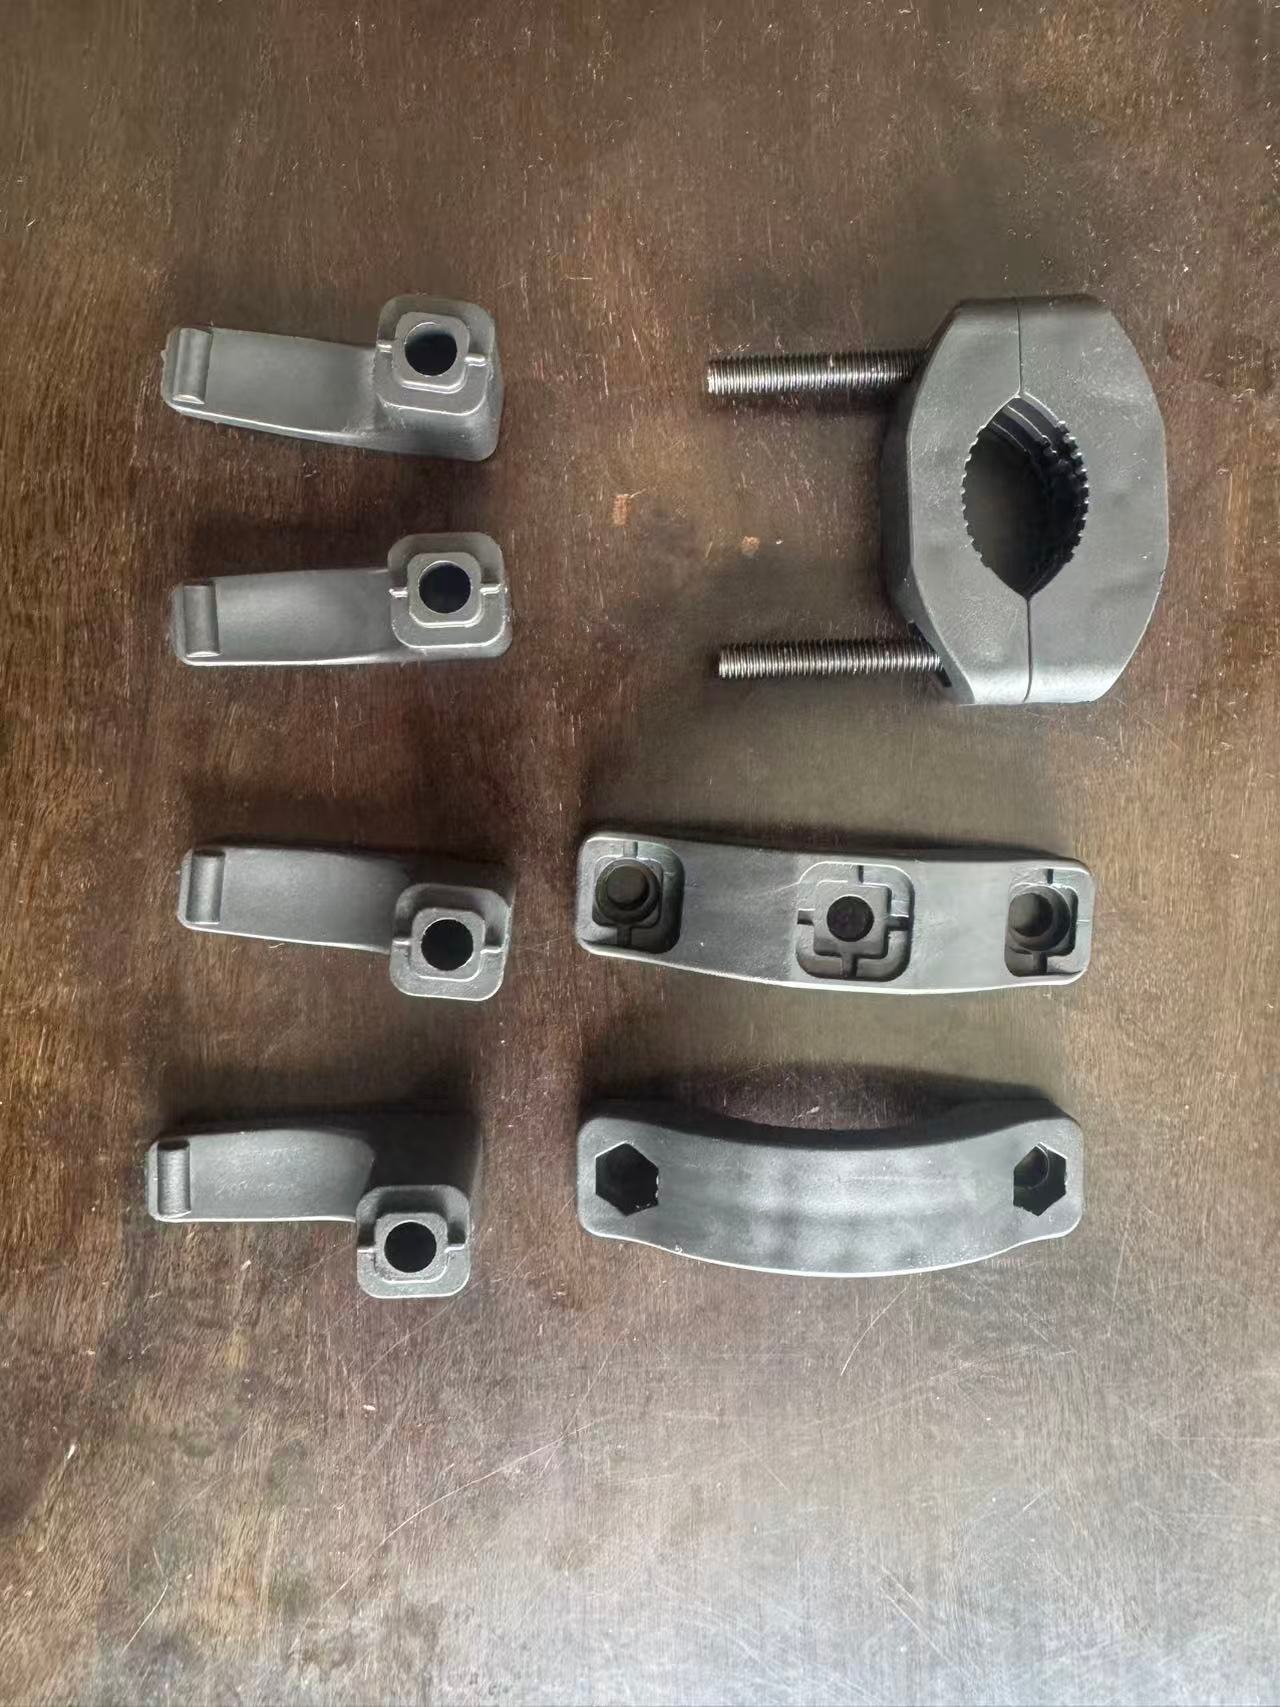
    Some tooling projects are judged less by the size of the part than by how well several parts work together. This adjustable clamp assembly uses a set of molded components with curved contact surfaces, locating features and a split central body fitted with threaded hardware.

    For this program, the important work was keeping the individual pieces consistent enough to assemble cleanly from one production batch to the next. The component shapes had to hold their intended positions around the clamp body while still releasing reliably from the mold.

    Project at a Glance

    • Part type: Multi-part adjustable clamp assembly
    • Scope: Mold tooling, sampling and injection molding production
    • Key focus: Assembly fit, repeatability across related components and stable production

    The Part Set

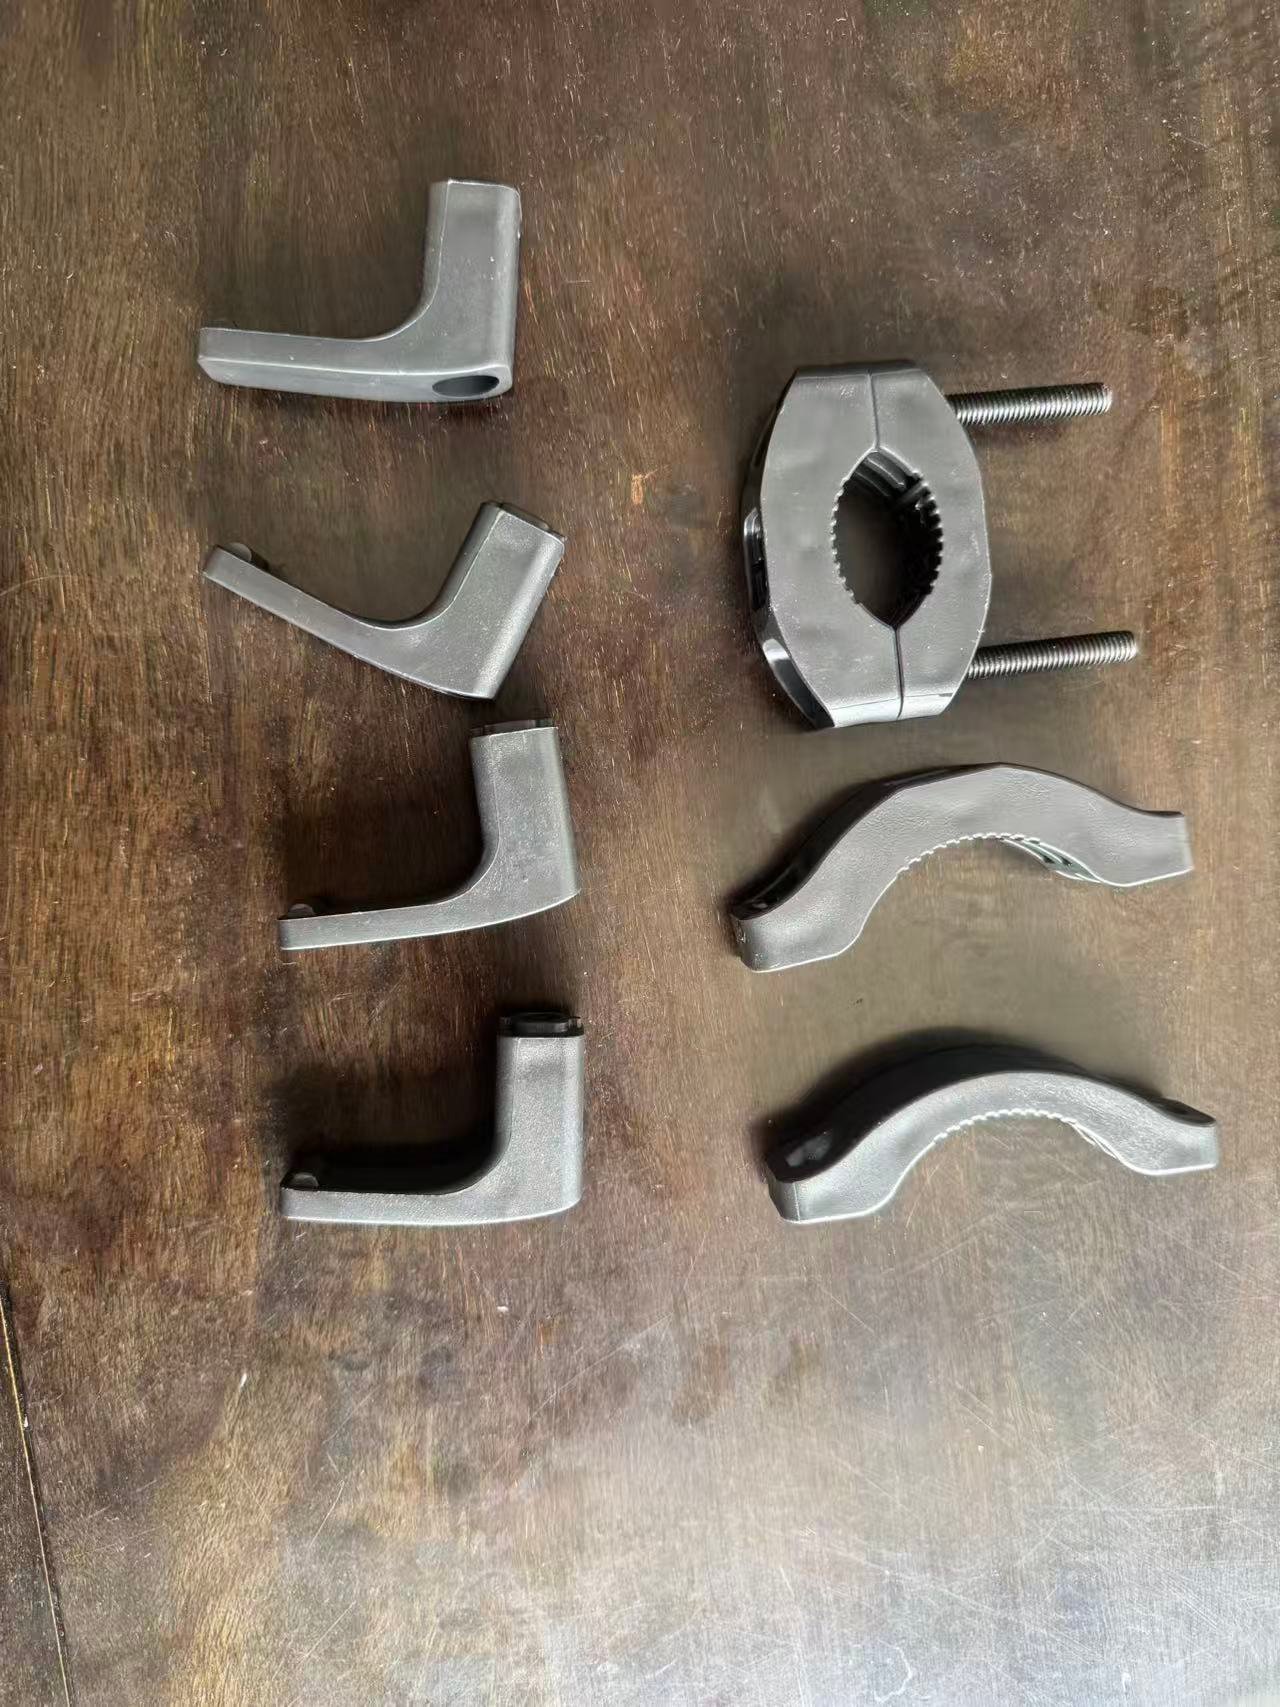
    The finished set includes curved clamp pieces, hook-shaped side components and a split center section used with threaded fasteners. Each part has its own functional surfaces, but the assembly only works when their relationships are held consistently.

    That made this a practical tooling job rather than a simple single-part molding job. The contact areas, openings and mating faces needed to be reviewed together so the parts could be installed without forcing, visible mismatch or interference.

    Tooling Work Before Production

    Our team reviewed the mold design around the features that would affect assembly most: the curved profiles, the central opening, the side hooks and the surfaces that locate against other parts. We also considered draft, parting line position, ejection and material flow so the finished components could be released without damaging functional edges.

    During sampling, the parts were checked as a set. Looking at one component alone is not enough for an assembly like this. We checked how the pieces sat together, whether the holes and locating features lined up as intended, and whether the external surfaces remained clean after molding.

    From Mold Shop to Injection Molding

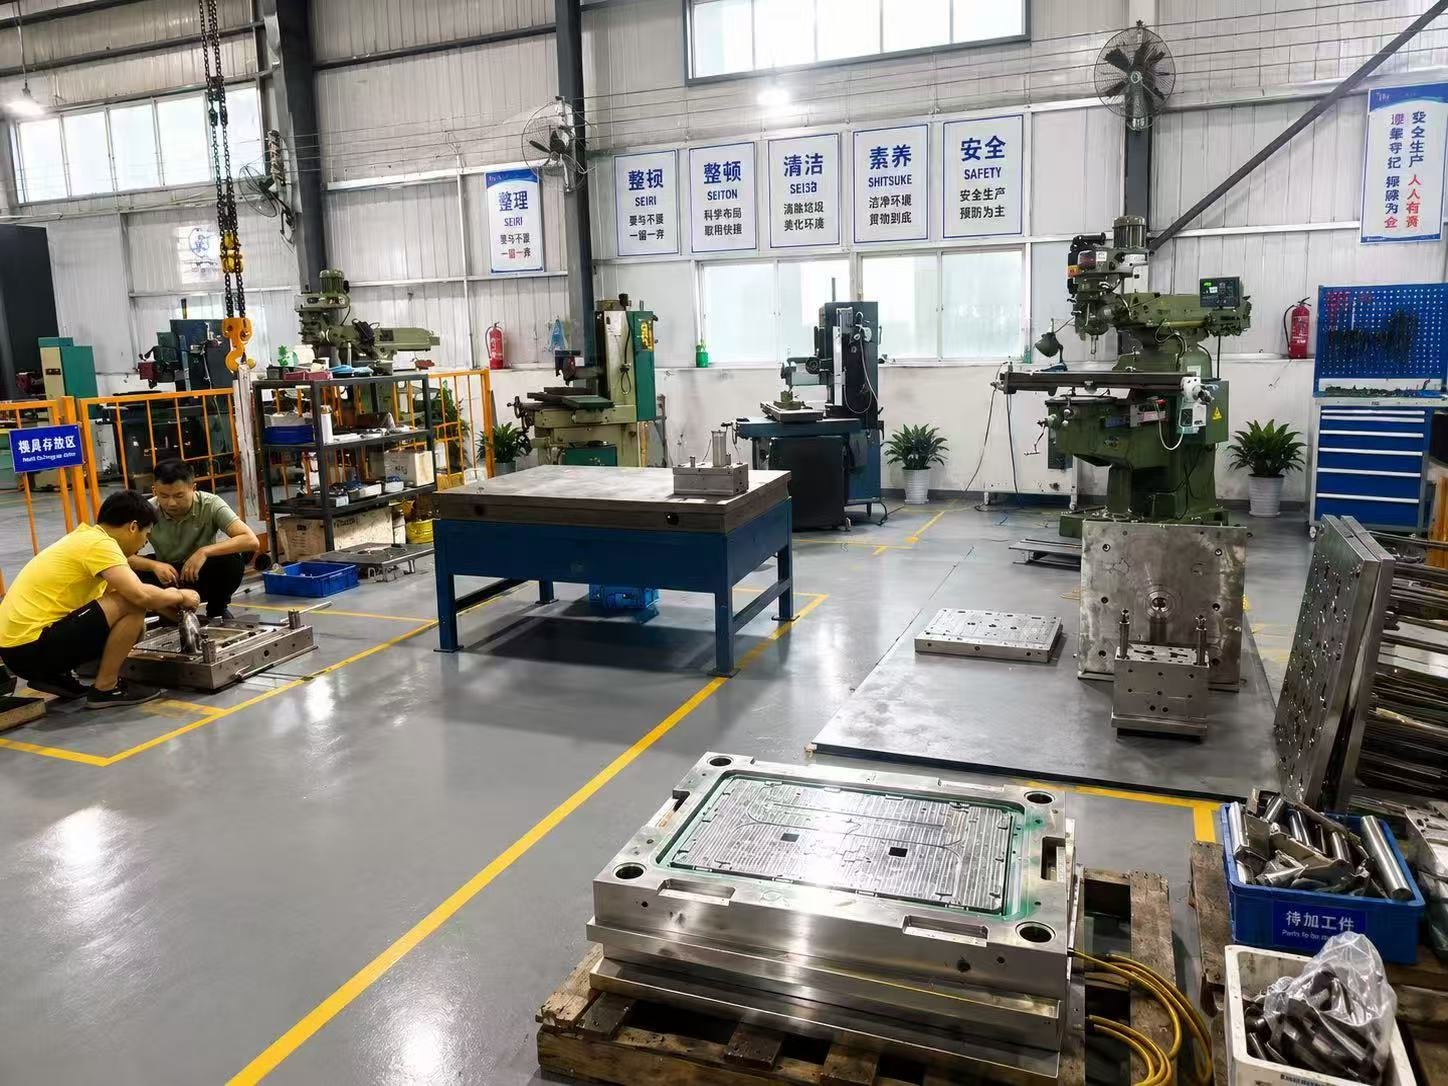
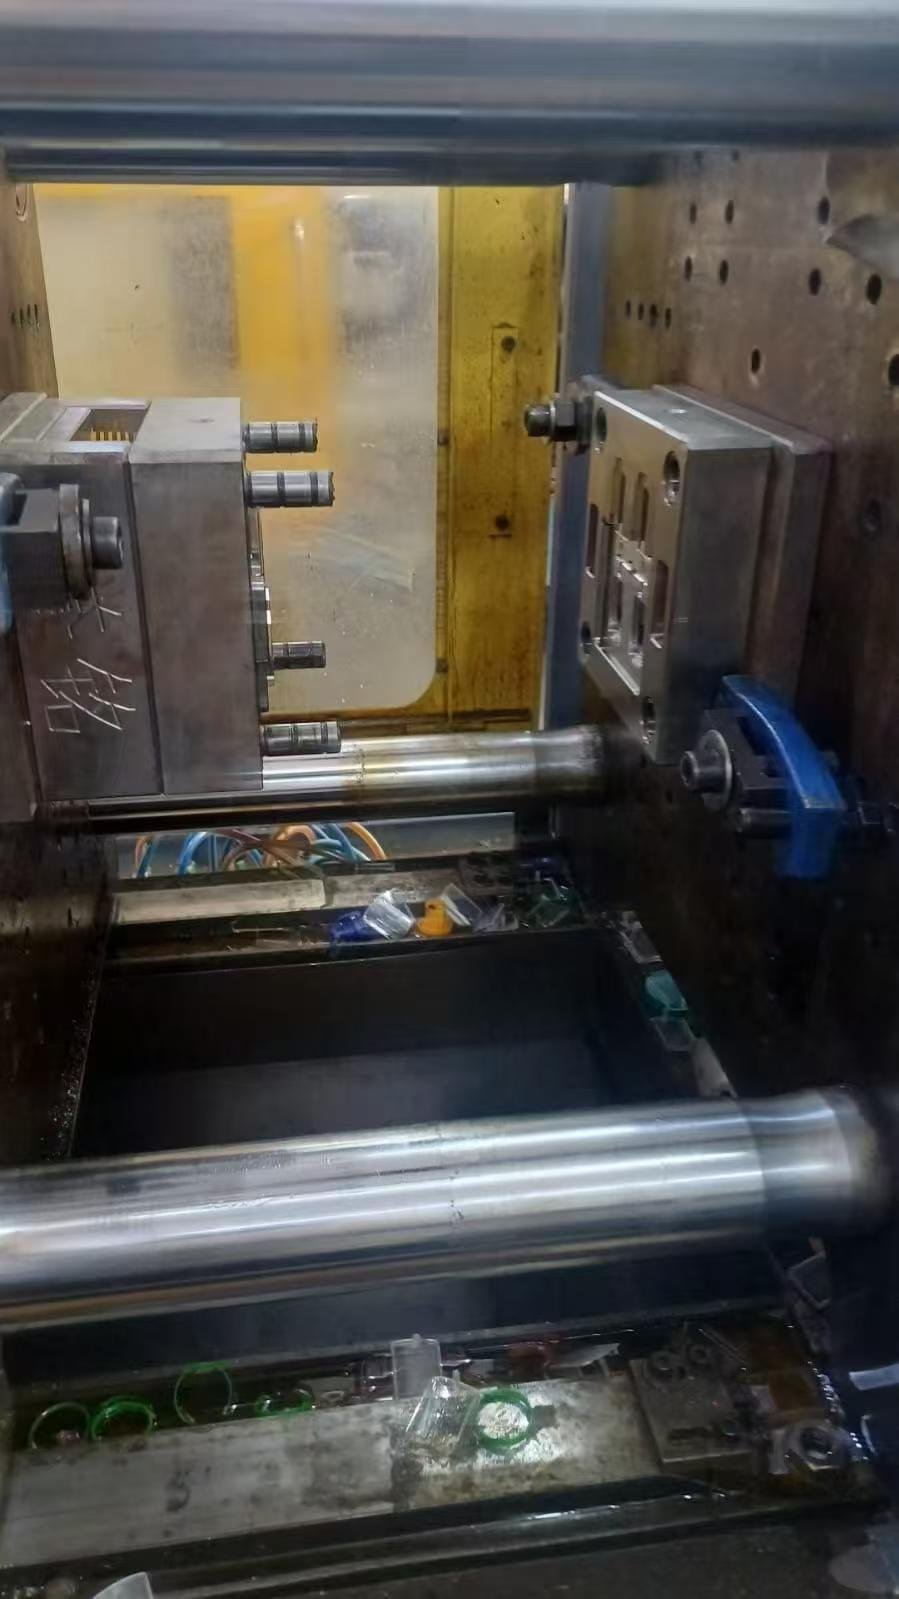
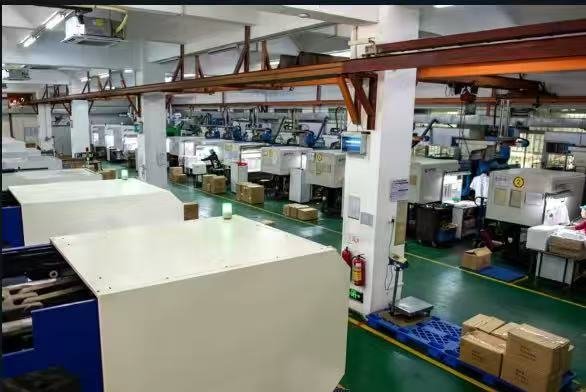
    The photos below show the work behind the finished parts: mold manufacture and fitting in the tool room, the mold installed in the injection molding machine, and the completed component set. Keeping tooling and molding under one roof helps the engineering and production teams respond quickly when a sample needs adjustment.

    What We Checked During Production

    • Appearance of visible surfaces and molded edges
    • Critical openings, holes and mating features
    • Fit between related components in the set
    • Consistency between sample checks during production

    A Straightforward Approach to Assembly Parts

    For clamp, bracket and other multi-part products, a quote should begin with the full assembly rather than a single drawing. Sharing the mating parts, hardware information and any points that carry load or need a controlled fit allows the mold design to address the real production risks early.

    Yuming Molding supports custom plastic parts, mold tooling, sampling and production for overseas OEM projects. We treat project drawings and files as confidential, and an NDA is available on request.

    Project Photos

    Send your drawing for a practical project review or see our injection molding services and quality control process.

  • PC Electronics Enclosure With an Integrated Hinge: Injection Molding Case Study

    PC Electronics Enclosure With an Integrated Hinge: Injection Molding Case Study

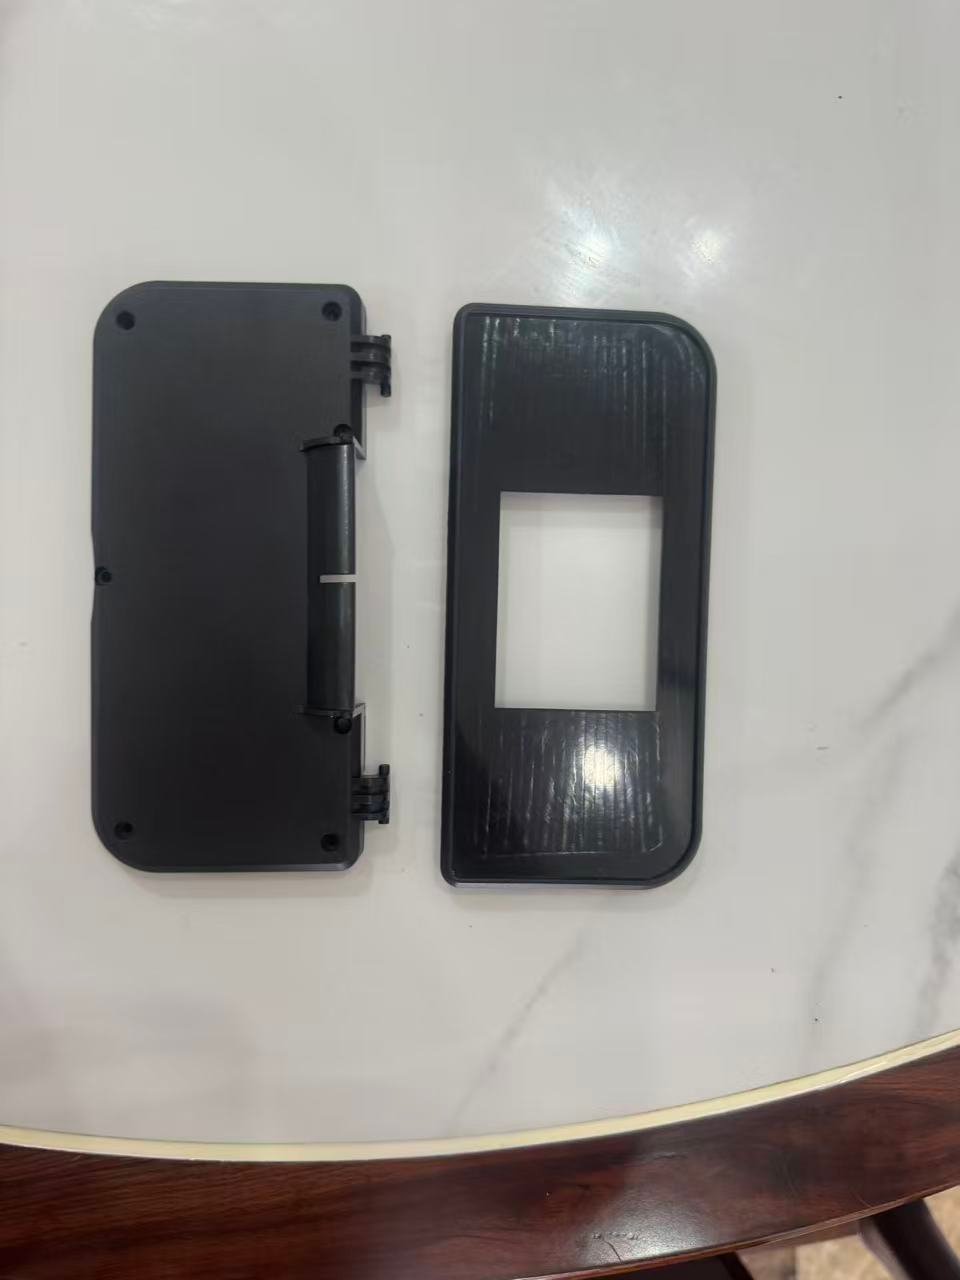
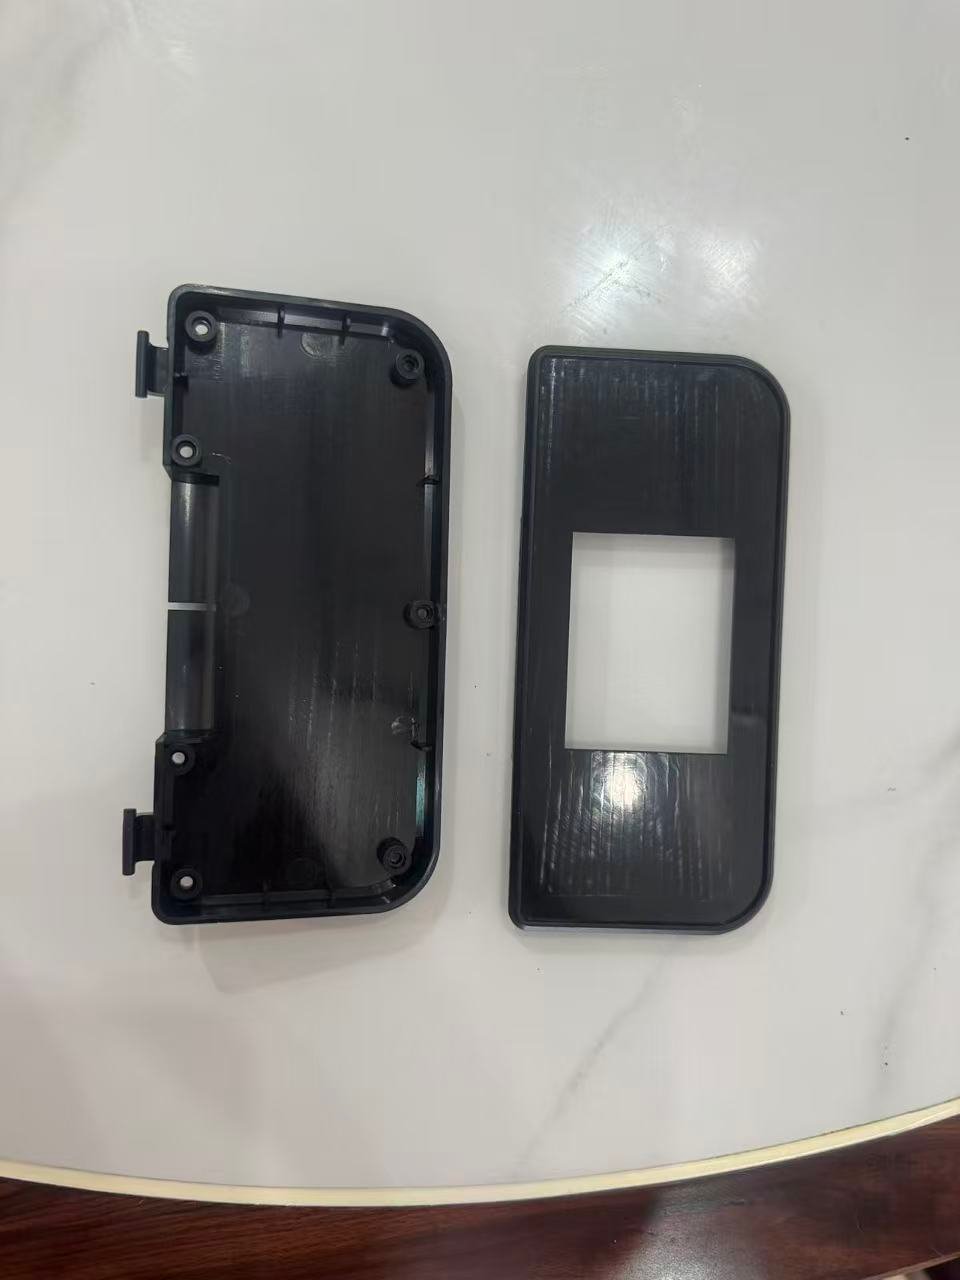
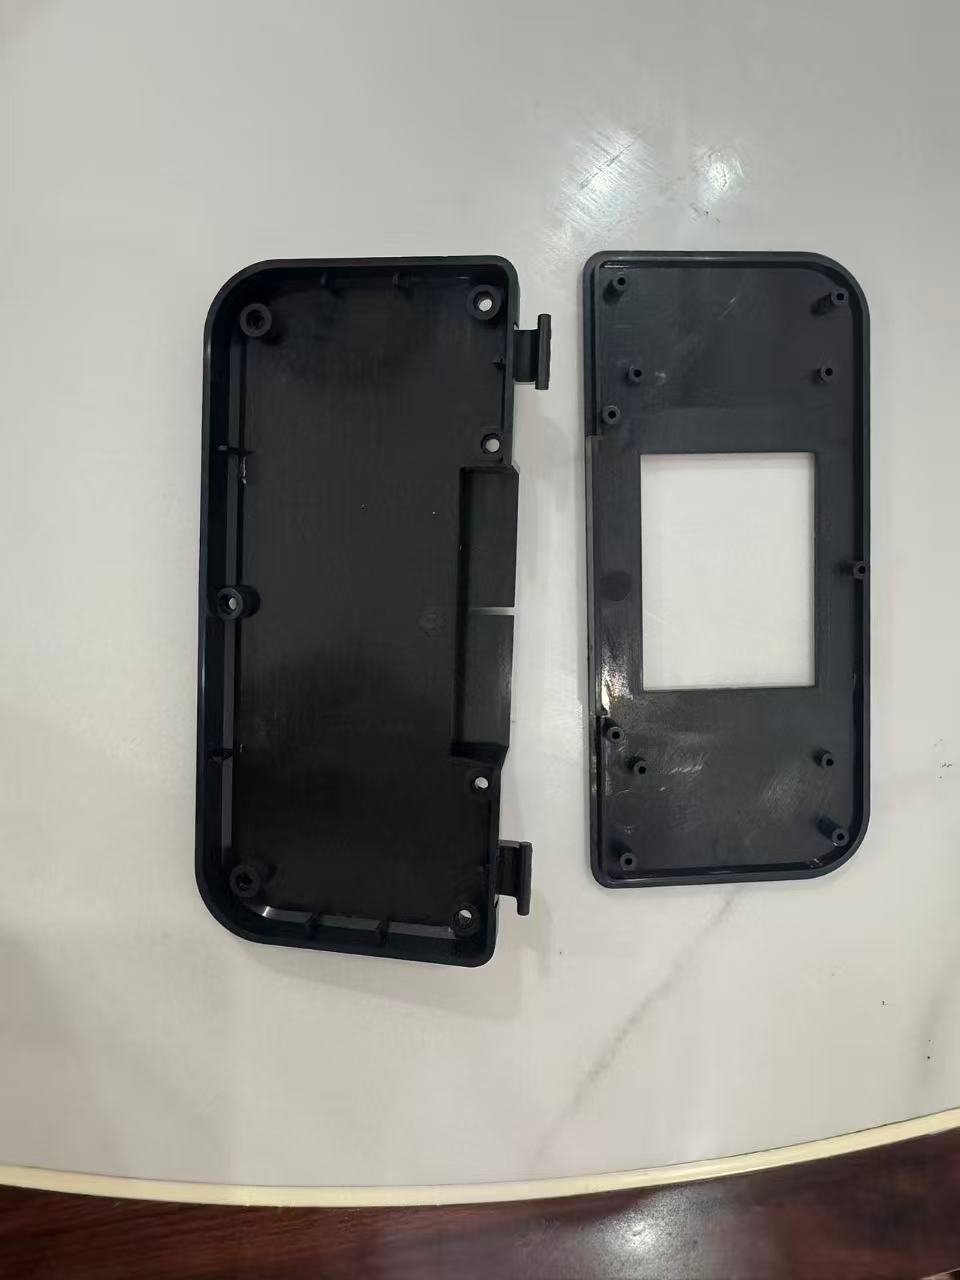
    This project involved a two-piece PC housing for an electronic product. The enclosure included an integrated hinge and a front opening, so the project was not simply about molding two separate plastic shells. The two parts needed to come together accurately and work as one enclosure.

    The expected volume was approximately 100,000 pieces. At that level, dimensional consistency, assembly accuracy, hinge strength, and a dependable production schedule all needed to be considered together from the beginning.

    Two-piece PC injection-molded electronics enclosure

    The project requirement

    The customer needed an injection-molded electronic housing made from PC. The housing was designed as two pieces, with an integrated hinge and a front opening.

    For this type of part, the practical questions are straightforward: will the two housing sections assemble consistently, will the hinge area support the intended use, are the dimensions controlled where the parts meet, and can the project be planned around the expected volume and delivery schedule?

    Those were the important requirements here. Instead of treating the enclosure as a standard plastic box, the review needed to focus on the relationship between the two parts and the function of the hinged opening.

    Why the two-piece design needed careful planning

    A two-piece enclosure can look simple in a CAD model, but small differences at the mating areas can affect assembly. In this case, the front opening and integrated hinge made the relationship between the two parts especially important.

    Dimensional consistency mattered because the enclosure needed to assemble accurately. Hinge strength mattered because the hinge was part of the functional design, not an accessory added after molding. The production plan also needed to reflect an expected requirement of approximately 100,000 pieces.

    PC enclosure with integrated hinge and front opening

    Tooling and production considerations

    The tooling discussion needed to take account of the PC material, the two-piece structure, the integrated hinge, and the expected quantity. The mold plan has to support the actual part design and the way the enclosure is intended to assemble.

    For projects like this, the most useful starting point is the latest CAD model, any available 2D drawing, the PC material requirement, critical dimensions, expected quantity, and target timing. These details give the project team a sound basis for reviewing the part instead of relying on a general description.

    For production-focused plastic part projects, see custom injection molding. For a new enclosure tool, see plastic mold engineering.

    How the key requirements were framed

    For this enclosure, the relevant quality requirements were specific: dimensional consistency, assembly accuracy, and hinge strength. These are clearer and more useful than a general request for “high quality.”

    Where the two housing parts meet, the drawing and assembly requirements should identify the features that affect fit. Where the hinge operates, the functional requirement should be clear. This creates a practical basis for production planning and drawing-based inspection.

    Read more about drawing-based quality control for injection molding projects.

    Two-piece PC enclosure prepared for assembly

    What this case shows

    Electronic housings often have simple external shapes, but their manufacturing requirements are defined by how the parts fit, open, close, and perform in the finished product. In this case, the material, two-piece construction, front opening, integrated hinge, expected volume, and schedule all needed to be reviewed as one project.

    If you are sourcing a similar enclosure, send the available CAD files, material requirement, estimated quantity, and any dimensions or functional areas that are critical to assembly. Submit your project for an injection molding review.